How to setup Linux, Nginx, MySQL & PHP (LEMP) on Ubuntu 16.04
Created by Admin at 15-05-2020 11:56:45 +0200The LEMP stack is a combination of several open-source software packages. In this guide, we will go through all the steps of installing these packages, namely: Linux, Nginx, MySQL and PHP. Together they enable your server to host dynamic web applications or host databases.In this tutorial we'll be going through the installation proces step by step.
Before we start, we need a Linux Ubuntu installation. We'll skip that step in this tutorial since you can easily get a default linux installation on one of the containers on the www.cloudcontainers.net site.
This tutorial is based on the cloud containers created on the my.cloudcontainers.net page. This means that you are by default the root user, so all of the commands below don't make use of sudo. If however, you're not the root user on your system, you'll have to add "sudo" in front of the commands found in the guide below.
Install Nginx
Since we're using a clean Virtual Machine to install Nginx on, we are going to want to update our packages to prevent conflicts from emerging later on.
apt update
apt upgrade
Now we can install Nginx:
apt install nginx
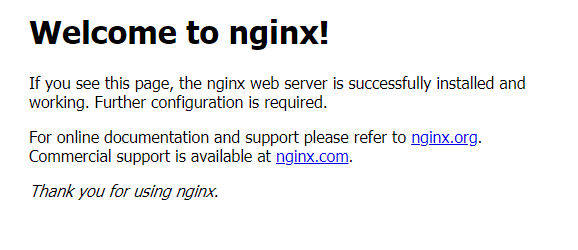
To test if Nginx was installed correctly, navigate to your server's domain/IP address in your browser.
If Nginx was successfully installed, you should see this page:
Install MySQL
We use the package manager to install MySQL:
apt install mysql-server
You'll now be prompted for an administrative password to the MySQL root user, fill in a password and press OK.
Next, we're going to run a security script to modify some default settings:
mysql_secure_installation
You'll be prompted the MySQL root password.
Next, you'll be asked for a couple configurations. You can answer yes to all of them, however, the VALIDATE PASSWORD PLUGIN could be considered annoying since it will return errors if your password is too weak. This is especially problematic when using software that automatically generate MySQL user credentials. You can safely leave the VALIDATE PASSWORD PLUGIN disabled, but know it's important to choose strong passwords.
MySQL is now installed.
Install and configure PHP
Since Nginx does not by default contain PHP processing, In addition to PHP we're also going to install two other modules that let Nginx and MySQL communicate with PHP. For this, use the following command:
apt-get install php-fpm php-mysql
Now, we need to configure the PHP processor in order to make our setup more secure.
nano /etc/php/7.0/fpm/php.ini
In this file look for the following line:
;cgi.fix_pathinfo=1
This setting must be changed because as it is default, it will tell the PHP to execute the closest file if the requested PHP file cannot be found. This would enable users to execute scripts they shouldn't be allowed to.
Uncomment this line by removing the semi colon and set it to 0:
cgi.fix_pathinfo=0
Save and close the file.
Now restart the PHP processor:
systemctl restart php7.0-fpm
Now we have installed the PHP processor and Nginx, we still have to configure Nginx to actually use it. To do this, open the following file:
nano /etc/nginx/sites-available/default
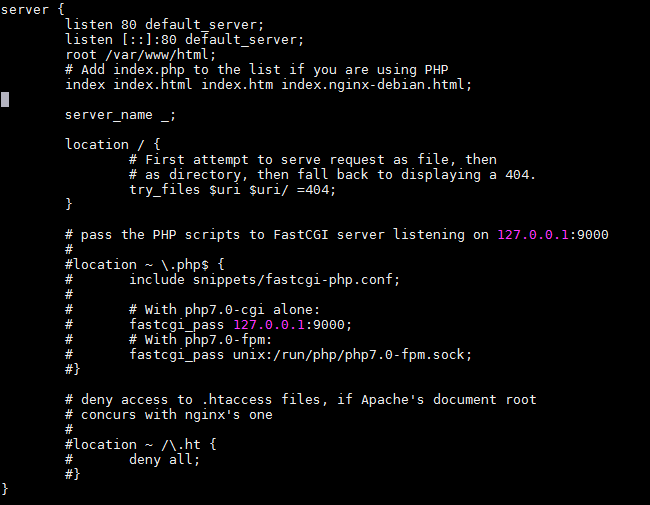
Between the comments, find the server block, here you will find some extra comments, but the file will roughly look like this:
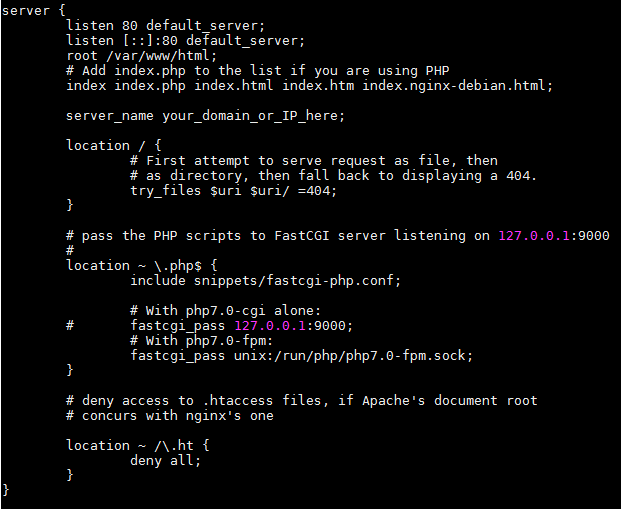
First, we're going to want to want to change the index directive, just below the root directive, we'll add "index.php" on the front of the list. This will tell Nginx to prefer PHP files.
Next, we modify the server_name, make it point to your server's IP address or domain name.
Also, we will uncomment the segment that handles PHP requests by removing the # symbols in front of each line of the Location ~ \ .php$ block, except for the "fastcgi_pas 127.0.0.1:9000" line
Lastly, we wil uncomment the block that deals with .htaccess, Nginx can't process these files, but if they somehow end up in the document root, they will this way be denied to visitors.
When you're done, the file should look something like this:
You can test your configuration for errors by typing the following command:
nginx -t
If there are no errors, we can reload Nginx to finalize the changes in our configuration:
systemctl reload nginx
Congratulations, you've now installed LEMP on Ubuntu 16.04!
Testing your configuration by creating a PHP file
Despite us having installed LEMP without any problems so far, it's always good practice to test if Nginx actually correctly pass PHP files to our processor.
We can do this by creating a little PHP script that will return some of our server's information. Create and open a new file called "info.php"
nano /var/www/html/info.php
In this file we're going to create a little script that calls a function that returns some server information:
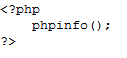
Save and close the file.
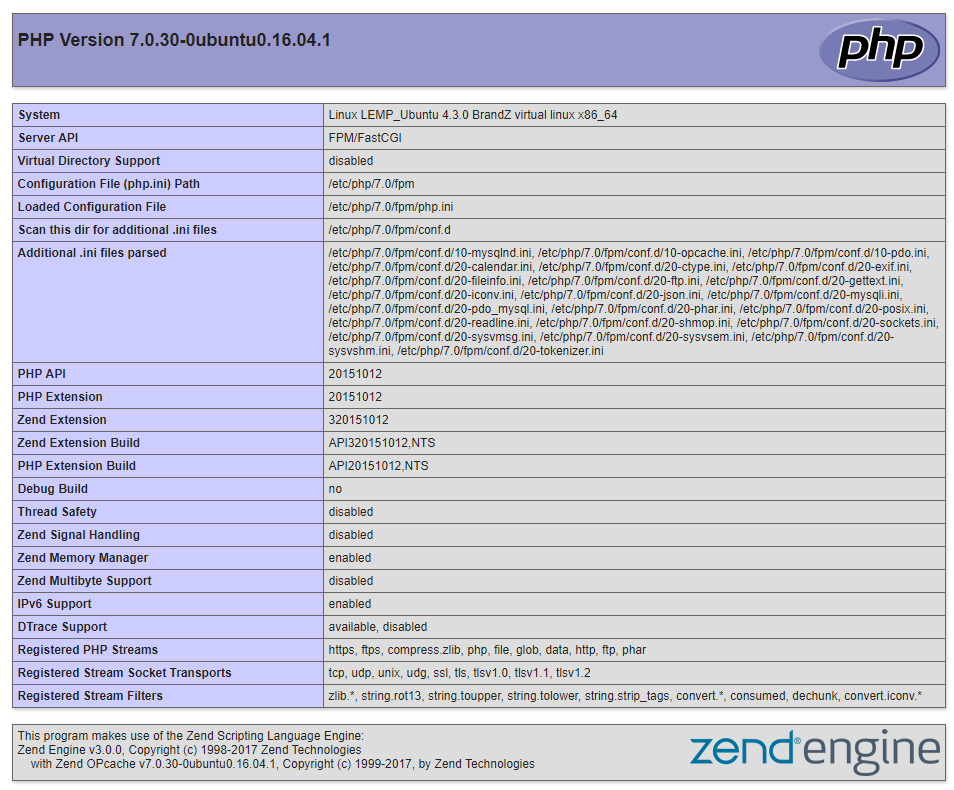
Now go to your domain/IP address in your webbrowser followed up by "/info.php"
http://domain_or_ip/info.php
If the page you are directed to look like this, you've setup Nginx and PHP processing correctly:
For now, we'll remove this info.php file; because it could give away information concerning our server we don't want unauthorized users to have acces to.
rm /var/www/html/info.php
Congratulations, you've now installed and tested LEMP on Ubuntu 16.04!

Comments are turned off.